The IDA4 infusion iv pump analyzer has been discontinued as of February 10, 2014.
Its service level is not serviced.
IDA4 infusion iv pump analyzer
Recommended replacement
IDA 4
Infusion Pump Analyzer
Models
View all models
Accessories
Adapters
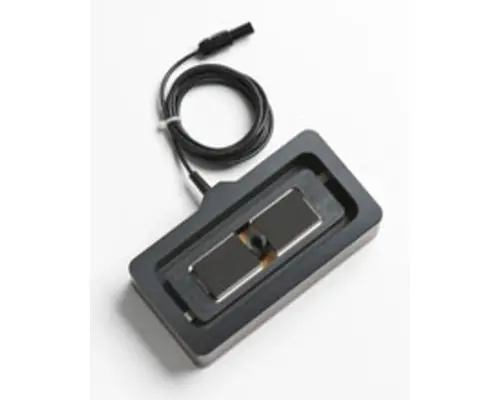
Philips IE33/IU22 TEE Transducer
Part Number: 2649837
Philips IE33/IU22 is an ultrasound transducer adapter used to judge the structure and function of the heart. Learn more with Fluke Biomedical.
Printers
Seiko DPU-414-30B Printer, 220V
Part Number: 3370513
Printer, Seiko DPU-414-30B with 220 V power supply (requires additional purchase of serial printer cable
Miscellaneous Accessories

Mini PC-Style External Keyboard
Part Number: 2245061
Mini PC-Style External Keyboard (83 keys, AT or PS/2, wedge adapter required)
Frequently asked questions
Start the first channel.
Select STATUS to return to the "Status All Channels" screen.
Select the next channel you want to start.
Follow the same start procedure for each channel.
Select STATUS to return to the "Status All Channels" screen.
Select the next channel you want to start.
Follow the same start procedure for each channel.