
Adding a custom logo to a report template in OneQA
This article relates to the new OneQA workflow automation software from Fluke Biomedical. For more details, check out the product page.
Keeping a record of the services you’ve done is critical for passing audits and for tracking the health of equipment over time. Adding a personal touch to your test reports is an easy way to impress managers or clients when you present them with proof of your work.
This tutorial will walk through the steps for adding a custom image to test reports generated by OneQA, such as the logo of your hospital or service organization, or a professional headshot of yourself.
Start by navigating to the Templates tab of the Data section in OneQA. You’ll find a list of report templates already provided. These templates define the appearance of .pdf reports that you can generate from test results in OneQA. Select one of the templates you wish to modify.

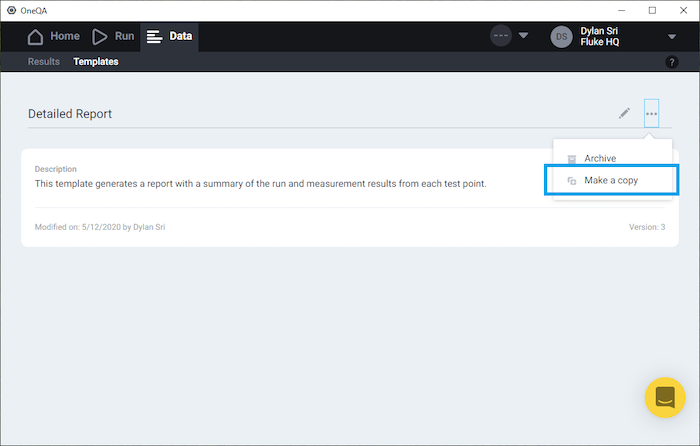
If you have been given Author privileges by your team’s admin, you can duplicate and modify templates. Click the … (More options) button and select Make a copy from the dropdown.
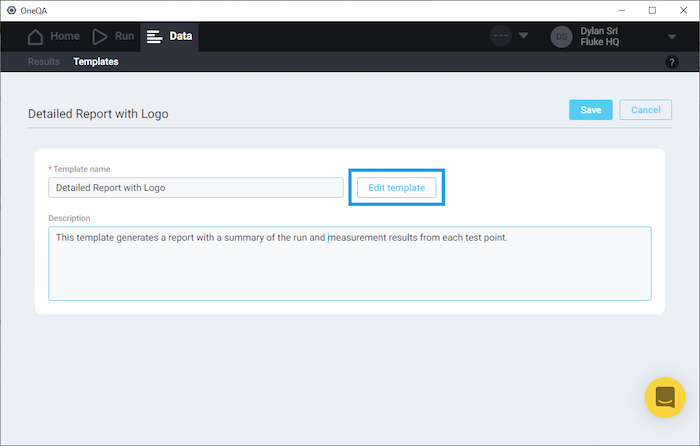
Give the new template a descriptive name, then click Edit template. This will open the Report Template Editor in a new window.
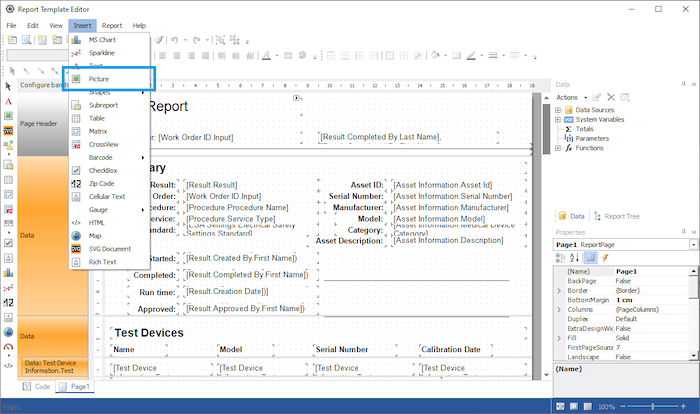
In the editor, open the Insert menu and click Picture.
A blank ‘picture’ frame will be attached to your cursor. Click to place the frame in the template space and resize its dimensions if desired. Double-click on the frame to edit the picture it will contain.
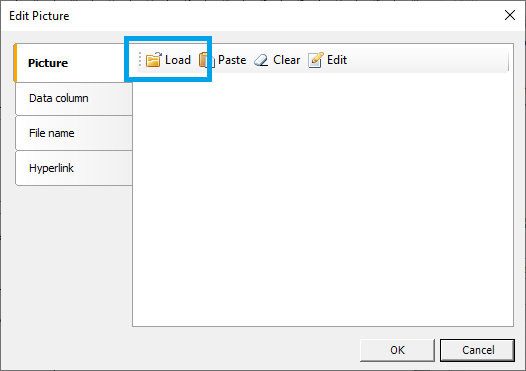
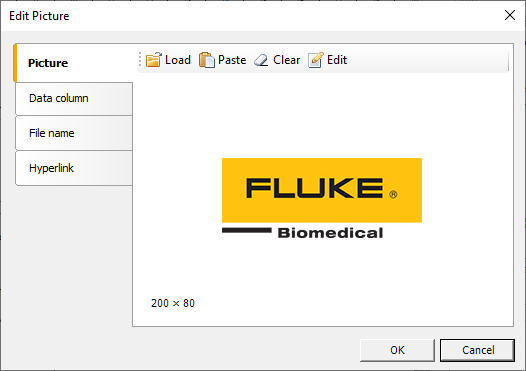
In the resulting Edit Picture window, click Load to select an image file from your filesystem.
Here we’ve chosen our very own Fluke Biomedical logo. This may be the default image that appears on your test reports out-of-the-box. We wish you wouldn’t overwrite it but we are giving you the power to do so.
With your custom logo now on glorious display, click Save and then Exit from the File dropdown menu.
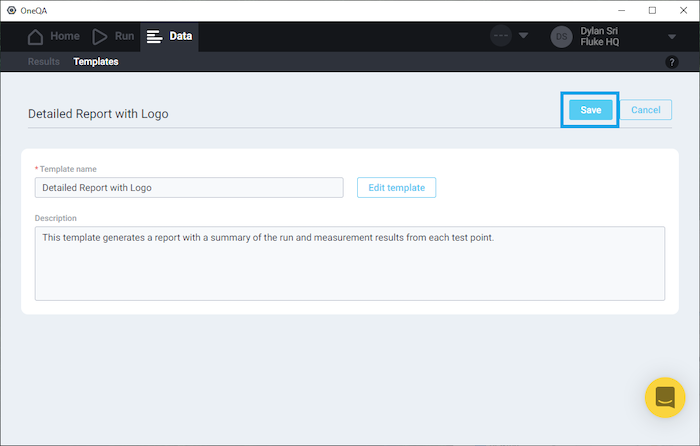
Back in OneQA, click to Save the template with the custom logo displayed. This won’t overwrite the original template, because you made a duplicate before modifying it.
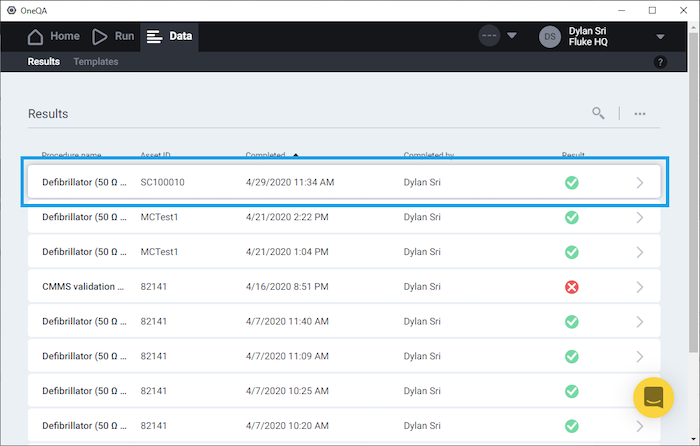
Let’s test out the new template by exporting a test result (hopefully you have some of these by now). Navigate to the Results tab and select one of your test results.
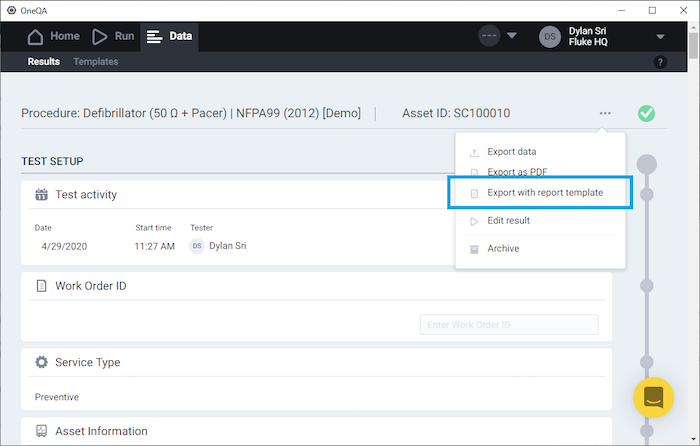
Select Export with report template from the … (More options) dropdown menu.
Select your new template with its custom logo from the list, then save the .pdf to your filesystem.
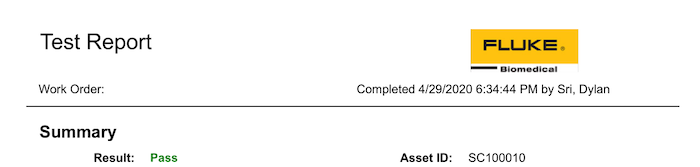
Here’s an example of the header for a test report with the custom logo:
There you have it! Now you can wow your colleagues with your beautiful test reports.
As you may have noticed, the Report Template Editor used in this tutorial enables endless customization of your templates. If you want to flex your own graphic design skills, we encourage you to take a stab at it. Just make sure you make a copy first so you don’t regret any changes you make!